You’ll communicate three essentials to your barber: specify your guard number (like “#4 all over”), indicate where you want the fade to blend, and clarify your edge finish preference—sharp or natural. Use straightforward language and avoid vague terms; request measurable adjustments if needed. Conduct a final mirror inspection, checking all angles for uniformity and alignment. For a detailed breakdown of each communication step and style options, the specifics below will guide you through every stage of the process.
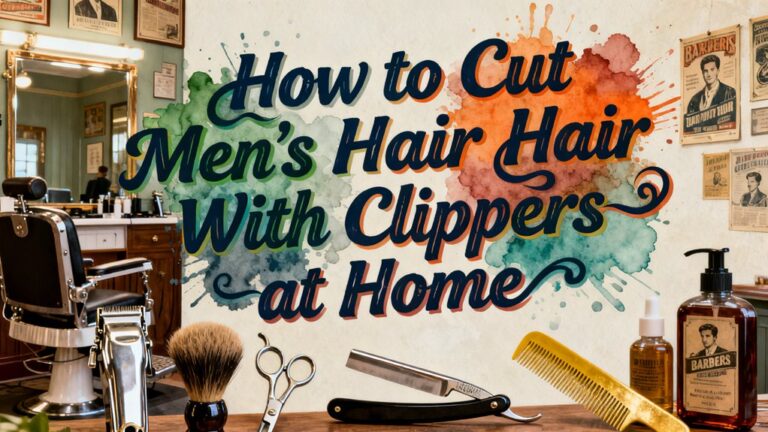
Choose Your Buzz Cut Style: 6 Options Explained
Before you ask your barber for a buzz cut, you’ll want to narrow down which variation suits you best. Classic Styles include the timeless Buzz Cut with uniform length throughout and the Military-inspired High and Tight with closely shaven sides. The Crew Cut offers gradual fading for texture retention, while the ultra-short Burr Cut works well during warmer months. These classic options represent a straightforward grooming choice that accommodates various hair growth patterns. To maintain your buzz cut’s sharp appearance, regular upkeep with proper cleaning and maintenance tools will help keep your clippers in optimal condition. For beginners, starting with a uniform induction buzz cut provides the most straightforward approach to achieving an even result.
Modern Variations like the Skin Fade provide contemporary sharpness, fading from longer lengths to very short sides following your head’s natural contours. The Induction Cut delivers military minimalism for oval and diamond face shapes. Each style demands different maintenance levels and suits specific face shapes. Identify your face shape and lifestyle needs before discussing options with your barber for precision results.
Tell Your Barber Your Guard Length and Fade
The guard number system is your blueprint for communicating exact length to your barber. Specify your preferred guard number—say “#4 all over” for a uniform buzz—and reference inches or millimeters for precision. A #2 delivers 1/4 inch coverage, while #4 gives you 1/2 inch for a classic look.
For fade styles, you’ll layer different guards. Start with a lower guard at the sides—#1 or #1/2—then blend upward using higher guards like #3 or #5. This creates dimension without sacrificing the buzz cut‘s low-maintenance appeal. Remember that the guard numbering system allows you to achieve the ideal length between #2 and #4 that works best for most men seeking a uniform and manageable style.
Don’t hesitate to ask your barber about brand variations in measurements or lever adjustments for fine-tuning. Just as safety razors come in various designs with different blade exposure levels, clipper models vary in their cutting precision and comfort. For best results at home, consider investing in clippers with self-sharpening blades that maintain their edge through regular use. Confirm your vision using visual examples before they start cutting.
Mark Your Blend Point: Where the Fade Transitions
Once you’ve selected your guard lengths, you’ll need to establish where your fade actually shifts—this is your blend point, and it’s what separates a sloppy fade from a sharp one. Your blend point’s location depends entirely on which fade options you’re pursuing. Low skin fades position the blend point at least an inch below your temple, while mid fades place it just below the temple line. High fades and high-and-tight cuts position blend points higher, near or above the temple. Taper fades use softer blend techniques with lever adjustments for gradual changes that create a blurred fade effect. To achieve smooth transitions at your blend point, consider using the trimmer-over-comb method, which allows for precise control and natural-looking blending between different guard lengths. Professional barbers often rely on clippers with wedge blades and rotary motors to achieve precise blend points with minimal heat buildup. Communicate your preferred blend point location clearly to your barber—reference anatomical landmarks like your ears and temples to guarantee precise placement and a polished final result.
Use a Photo to Show Exactly What You Want
Pictures beat words every time when you’re communicating with your barber. A single high-quality photo eliminates vague descriptions that lead to miscommunication.
For effective photo selection, choose images matching your hair type, texture, and head shape. Avoid celebrity photos unless their hair characteristics align closely with yours. Select recent, sharp images showcasing the exact buzz cut style you want. Just as maintaining a sharp edge requires consistent technique, achieving your ideal buzz cut depends on clear visual communication with your barber. Regular maintenance after each haircut, similar to routine cleaning practices, helps preserve the shape and definition of your buzz cut between appointments.
Angle importance can’t be overstated. Capture multiple perspectives: front view, side profiles showing sculpted contours, and back shots revealing fade and neckline shape. Tilt your head slightly forward to display top length and side blending. Position yourself with the blend area centered in frame. Use good lighting to enhance the shape definition and all details of your desired cut.
Bring 3-5 photos from different angles. Point out specific elements like buzz length and taper intensity. Your barber will match these visual references precisely, ensuring you get exactly what you want.
Phrase Your Request So Your Barber Understands
Now that you’ve got your photos ready, it’s time to talk with your barber in language that leaves no room for misunderstanding. Use specific guard numbers instead of vague terms. Rather than saying “short,” request a “#2 guard buzz cut,” which equals exactly 1/4 inch. If you want variation, specify “#5 on top with #3 sides” for a gradient effect.
Your communication tips should include precise measurements: “trim a quarter-inch off the top” beats “take some length off.” Ask your barber to check length incrementally during cutting, allowing adjustments as you go. For body grooming needs like armpit hair management, consider how self-sharpening trimming blades can also benefit from clear communication about desired length. After getting your buzz cut, remember that daily moisturization will help keep your scalp healthy and comfortable. Expressing your preferences clearly ensures satisfaction with the final result and demonstrates how effective communication directly impacts your confidence in the finished cut.
Avoid barber jargon entirely. Skip slang terms that vary by region or interpretation. Stick to straightforward language and guard numbers. This direct approach guarantees your effective descriptions translate into the exact cut you want, eliminating costly miscommunications.
Ask for Clean Edges and a Shape-Up
With your guard numbers locked in, you’ll want to specify how you’d like your edges finished. Tell your barber whether you prefer a natural soft edge-up or a defined sharp style. Request a full shape-up to sharpen your hairline, temples, sideburns, and neckline for a polished look.
Be specific about symmetry preferences. Mention if you want your beard line refined to match your hairline. Point out any features like a widow’s peak that affect how edges should be treated during regrowth. A sharp edge-up ensures your haircut maintains a fresh appearance for longer as your hair grows out.
Ask your barber to use precision techniques—like angling the trimmer slightly or applying a straight razor for ultra-smooth crispness. For optimal results, ensure the clipper blades are properly maintained with regular lubrication to prevent overheating and maintain cutting performance. For at-home maintenance between visits, consider using a waterproof beard trimmer to keep edges clean and prevent rust or damage. Discuss maintenance frequency since clean edges require regular barber visits to maintain sharpness as hair regrows.
Confirm the Final Look Before Leaving the Chair
Before you leave the chair, take a final look in the mirror and verify that your buzz cut matches what you requested. Examine all angles—sides, back, and top—to affirm uniform length across your scalp. Check that edges align with your specifications and that symmetry meets your expectations.
During your final inspection, identify any discrepancies requiring adjustment. Specify areas needing blending or refinement before standing. Ask your barber for minor touch-ups if needed, allowing time for quick corrections. Providing constructive feedback helps your barber understand your preferences for future visits. For those considering at-home grooming alternatives, ceramic blade trimmers offer a convenient option between barber visits. Unlike razors that require extensive skin care preparation, buzz cuts with clippers involve minimal skin irritation and are ideal for regular grooming maintenance.
Express your satisfaction confirmation clearly once you’re pleased with the result. State your approval verbally and thank your barber for the work. Avoid leaving dissatisfied by voicing concerns while still seated. This approach guarantees you leave with a buzz cut that precisely matches your vision.