You’ll disconnect your razor and use a soft-bristled brush to remove loose hair daily. Rinse the shaving head under warm water while it runs for 10 seconds, adding liquid soap and repeating 4-5 times for deeper cleaning. Apply one drop of manufacturer-recommended lubricant to the cutter block monthly. Replace foils and cutter bars annually. Store your razor upright in a cool, dry location. These steps prevent buildup and maintain cutting efficiency—but there’s more to optimizing your razor’s performance.
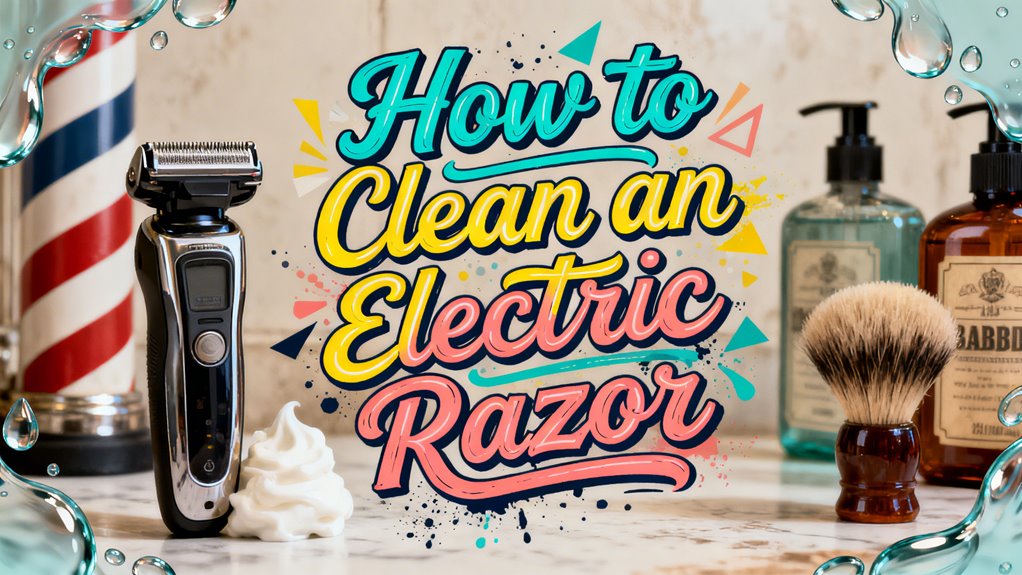
Gather Your Supplies and Disconnect the Razor
Before you begin cleaning your electric razor, gather a bristle brush, mild soap, cleaning spray, blade lubricant, and a small towel. These supplies facilitate effective cleaning techniques tailored to your razor’s specifications.
Safety precautions are paramount. Turn off your razor immediately and unplug the charger if connected. Remove the device from its power source to prevent accidental activation during handling. Verify disconnection by confirming no power flows to the shaving head.
Prepare your workspace with a small absorbent towel placed underneath the razor for moisture absorption. Have a dry cloth readily available for wiping excess water. Position the razor on a hard surface where you can tap it if necessary post-disconnect. For optimal results, consider using 70% isopropyl alcohol as part of your disinfection routine. Before cleaning, check whether your razor model is waterproof by looking for the tap or bath symbol on the device. Regular cleaning after each use prevents damage from hair clippings, dead skin, and dirt buildup that can clog your razor and stress the motor.
This methodical setup guarantees safe, efficient cleaning without electrical hazards or equipment damage.
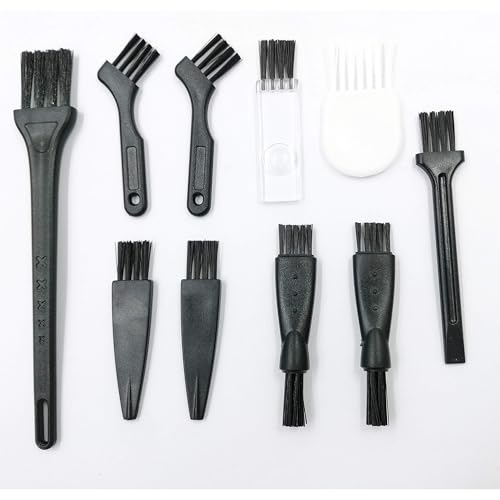
Electric razor cleaning brush

ShaverAid Electric Razor Shaver Cleaning Brush

Specially designed to clean the nooks and crannies of clippers and trimmers
Remove and Tap Out the Shaving Head
The next step involves detaching your shaver head—a crucial part of thorough cleaning that exposes the blades and internal components. Locate the release button or latch positioned on the front or side of your shaver. Press it firmly to flip open or disconnect the head from the body. Different removal techniques apply depending on your model: foil shavers require pulling the head straight off after flipping open, while rotary models may need twisting the locking mechanism counterclockwise. For Philips Norelco units, open the hinge on the back to access internal parts. Once removed, hold the shaver head over a trash bin and tap it gently to dislodge accumulated whiskers and debris. This process loosens stubborn particles trapped inside before deep cleaning. After tapping out debris, rinse the shaver head under warm water to remove any remaining hair, foam, and dead skin cells. To prevent skin irritation and maintain cutting performance, regular maintenance of your cutting parts through consistent cleaning and recommended replacement intervals ensures your shaver continues to deliver optimal performance and a comfortable shave over time. Consistent cleaning also helps prevent fungal and bacterial growth that can develop on moist shaver heads.
Brush Away Loose Hair and Debris Daily
After tapping out the shaver head, you’ll want to grab a soft-bristled brush to remove the remaining loose hair and debris clinging to the razor’s surfaces. Using proper brushing techniques, apply gentle pressure while targeting the areas immediately surrounding blades and foils where particles accumulate most readily. Pay deliberate attention to nooks and crannies within the shaver head’s interior surfaces, where trapped hair and skin flakes lodge.
Establish a consistent daily brushing schedule after every shave to prevent grime buildup. This brush maintenance approach removes the bulk of loose debris before deeper cleaning methods, preparing blades for subsequent washing. For optimal hygiene, consider using 70% isopropyl alcohol as a disinfectant following your brushing routine. A soft-bristle brush is essential for safely removing particles without damaging the delicate blade components. Regular brushing extends your razor’s lifespan considerably, reducing the frequency of intensive cleaning procedures needed. Premium shavers like the Panasonic Arc 5 feature advanced blade designs that benefit significantly from consistent maintenance routines. Incorporate this straightforward step into your routine to maintain ideal performance and hygiene between weekly deep-cleaning sessions.
Rinse and Dry Your Razor Properly
Once you’ve brushed away the loose debris, rinsing and drying your razor properly guarantees peak performance and hygiene. For effective shaver maintenance, turn on your razor and rinse the shaving head under warm tap water for 10 seconds. Add liquid soap to enhance cleaning, then repeat the rinsing process 4-5 times while the shaver runs to remove impacted debris and hair clippings.
After rinsing, shake off excess water by holding the running shaver at an angle to drain completely. Lightly tap the foil head on a hard surface to dislodge remaining water and particles. For deeper cleaning of stubborn residue, consider using a vinegar solution to dissolve shaving foam and buildup. Maintaining your razor with proper lubrication ensures the protective screens over blades function effectively and safely during use.
Pat all components dry with a clean cloth or paper towel. Finally, air dry your razor completely on an absorbent surface before reassembly. Avoiding storage with moisture will prevent odors and keep your shaver fresh. Proper cleaning frequency—ideally daily—maintains optimal razor performance.

Quality Material: These razor cleaning brushes feature high-quality nylon bristles. They are soft enough to protect blades from damage, yet stiff enough to resist shedding or deformation. The handles are made of sturdy and durable ABS plastic.

Package include: 8 pieces of black double-sided razor trimmer shaver cleaning brushes are included in this package, each brush is approx. 2.45 x 0.5 inches, soft bristles and durable quality make it easy to clean, very suitable for travel or normal use at home or barber

【RELIABLE MATERIAL】 Made of PP material, the shaver cleaning brush is sturdy and durable, non-shedding with good toughness, the brush handle is designed with nonslip particles, comfortable to grip and effortless to apply.
Know When Your Razor Needs Deeper Cleaning
While daily rinsing and drying keep your razor functioning well, you’ll eventually need to recognize when deeper cleaning becomes necessary. Monitor performance indicators like increased tugging, multiple passes required, or diminished shaving closeness. Watch for skin reactions including nicks, cuts, or razor burn—signs that buildup impairs blade effectiveness. Operational issues warrant attention too: unusual vibrations, longer charging times, or motor blockage from debris. Check your digital display for maintenance alerts, including the exclamation mark symbol or cleaning reminders. Physical wear evidence such as visible cracks, rust, or deformed foil components also signals deeper cleaning needs. For stubborn buildup on your razor’s components, consider using vinegar and baking soda to create a cleaning paste that dissolves mineral deposits. To maintain hygiene and performance, brush away loose hair and debris from your razor’s blades and attachments regularly. Regular blade and foil replacement every 12 to 18 months maintains optimal shaving performance and prevents deterioration. Address these maintenance tips promptly to restore ideal function and prevent further deterioration of your razor’s performance.
Deep Clean With Vinegar and Baking Soda
When your electric razor shows signs of deeper buildup that daily rinsing can’t address, a vinegar and baking soda solution offers an effective deep-cleaning approach. You’ll want to understand the proper solution ratios and cleaning methods for ideal results.
Mix warm water and vinegar in a 1:1 ratio, or alternatively use one part white vinegar to four parts water. Submerge your razor head for an initial 20-minute soak. Add a small amount of baking soda to initiate a fizzing reaction that loosens trapped debris and mineral buildups.
Extend the soak to one hour after adding baking soda. For Philips models, use hot water with household vinegar. Agitate the solution periodically by shaking the container. This chemical reaction effectively targets skin flakes, oils, and hardened residues that accumulate over time. Corded electric shavers like the Philips Norelco 1100 benefit particularly from regular deep cleaning maintenance. For specialized grooming needs, electric razors designed for intimate areas offer additional benefits beyond standard facial shaving. Regular deep cleaning enhances razor performance and maintains optimal shave quality by removing buildup that daily rinsing cannot eliminate.
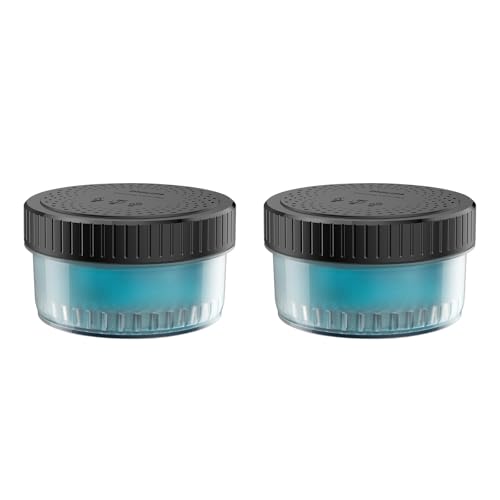
Keep your electric shaver clean, ready to use and performing at its best, with efficient cut hair removal and deep cleaning in just 1 minute thanks to special lubricants
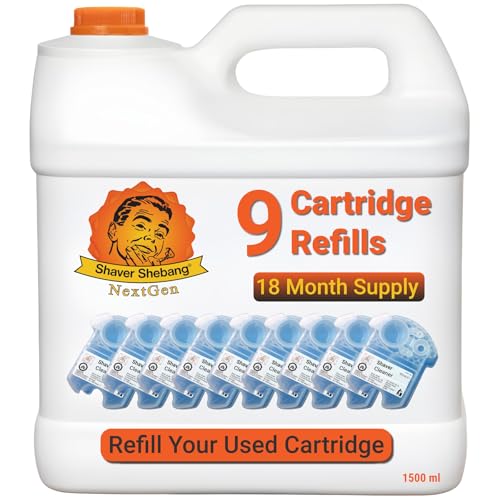
18 Month Supply — Each 1500ml bottle provides enough cleaner to refill your Clean & Renew cartridge 9 times, offering excellent value and convenience.

Alcohol-based cleaning solution cleans your shaver and provides optimal hygiene
Follow These Cleaning Steps for Your Razor Brand
After you’ve addressed stubborn mineral buildup with vinegar and baking soda, you’ll want to establish a regular cleaning routine tailored to your specific razor model. Braun razors require you to manually remove lather before using cartridge-based cleaning stations. Philips Norelco SmartClean models simplify maintenance—you rinse and toss the cartridge with detergent included. Panasonic stations accommodate wet shaving, though you should rinse your head beforehand for best results. Each brand’s cleaning techniques and maintenance tips vary greatly. Braun cartridges deplete faster than Panasonic’s detergent-based solutions, affecting your long-term upkeep costs. You’ll find that following manufacturer-specific protocols guarantees effective cleaning cycles, proper lubrication, and extended razor longevity while preventing unnecessary wear on delicate components. For specialized grooming areas like the bikini line, brands like Philips offer cordless models that require simplified maintenance routines. For non-washable models, use a small brush to clean shavings from the cutting edge and then wipe the blade with alcohol to ensure cleanliness. To prevent irritation and ingrown hairs, always ensure your razor blades are sharp and properly maintained between cleaning sessions.
Oil Your Cutting Block to Keep It Running Smooth
Lubrication is essential for maintaining your electric razor’s performance and longevity. You’ll want to select appropriate oil types—light oils or manufacturer-provided lubricants work best, as they reduce friction without clogging. Avoid heavy oils that compromise blade movement.
For application methods, apply one drop directly to your cutter block before shaving. Turn the shaver on briefly to distribute the lubricant evenly across the blades. Target the cutting mechanism, not the foil surface. Once powered off, wipe away excess oil with a clean cloth. Monthly lubrication with mineral or clipper oil reduces friction and protects the cutting system from accelerated wear. Proper maintenance of your razor’s cutting system is particularly important for those with sensitive skin, as dull or poorly maintained blades can cause irritation and discomfort.
Establish a regular lubrication schedule based on your usage. Daily users should oil after each cleaning session, while regular users benefit from weekly applications. This prevents premature wear, reduces heat generation, and maintains cutting efficiency throughout your razor’s lifespan. Ensure you turn the shaver on briefly upright after oiling to distribute the lubricant evenly across all blade surfaces.

PREMIUM PROTECTION - Protects your cutting equipment from rust and corrosion. Ensuring a prolonged life for your clipper and razor

Cutting Board Oil is a deep penetrating 100% Pure USP Food Grade Mineral Oil that is tasteless, odorless, colorless, and will never go rancid

FOOD GRADE MINERAL OIL: Our mineral oil oil is lab tested to meet strict food safety standards. Clark's wood cutting board oil is not colorless, providing deep nourishment while keeping your wood cutting boards and kitchen surfaces protected.
Replace Razor Foils and Cutter Bars Annually
Because foils and cutter bars endure constant contact with your skin and facial hair, they’ll gradually deteriorate and require replacement to maintain shaving performance. Your shaving frequency directly impacts wear rates—daily users should replace components annually, while occasional shavers may extend usage to 18 months. Blade sharpness diminishes over time, resulting in decreased closeness and increased skin irritation. Braun recommends replacing both foils and cutters together to optimize results. Replace them when you notice multiple passes needed for adequate shaving or when irritation develops. Most models feature indicator lights signaling replacement time. Though compatible third-party options exist, genuine Braun replacements guarantee compatibility and performance. Regular maintenance can mitigate some issues such as heat generation due to friction from worn parts. Electric razors like the Braun Series 9 Pro are specifically designed to minimize skin irritation when components are properly maintained. Proper post-shave care with quality balms and astringents further protects sensitive skin from irritation caused by worn blades. Timely replacement prevents potential shaver damage and maintains hygiene standards.

Care and cleaning: Rinse with water; Contains one screen and two cutters; Recommend to replace screens and cutters every 6 months

Suitable for S3 Shaves: The S3 32B electric razor replacement head is designed to perfectly fit all Series 3 shave razors head, including models 3000s, 310s, 3040s, 3050cc, 3010s, 3070cc, 3080s, 3090s, 350cc-4, 370cc-4, 380s-4, 3090cc, 320, 330, 340, 360, 380.

Smooth Close Shaving: The brightup foil shaver Replacement Foil and Cutter Bar assembly is your ideal replacement foil heads set for the model: BT-S03.
Store Your Razor Correctly Between Uses
Proper storage between uses extends your razor’s lifespan and maintains hygiene standards by controlling moisture exposure and bacterial growth. You should store your razor upright in a stand or glass to keep the blade elevated and dry. This position prevents moisture from accumulating around blades and allows quick air circulation for ideal drying.
Choose a cool, dry location away from bathroom humidity. You’ll avoid environments where *Staphylococcus* and *Pseudomonas* bacteria multiply rapidly within 24-48 hours. Don’t use shower caddies or enclosed drawers that trap moisture and compromise razor hygiene. Consider temperature and humidity levels carefully when selecting your storage location to ensure optimal conditions for your device. Electric razors are a convenient alternative to wet shaving methods, so maintaining them properly maximizes their effectiveness in reducing razor bumps and ingrown hairs. Models with vacuum features can also help minimize mess during grooming and maintain cleanliness around your storage area.
For travel, you’ll want to use EVA material cases with protective caps. Apply the cap to your shaving head before packing. Activate travel mode by holding the button for five seconds to lock your device and prevent moisture during transport.