You’ll need quality clippers like the Remington ShortCut Pro or Wahl Self-Cut Pro with guards ranging from 1.5mm to 25mm. Start by washing and towel-drying your hair, then section it into top, sides, and back. Use the lowest guard first on sides and back, moving upward with even pressure. Apply the clipper-over-comb technique on top for control, then blend sections systematically using progressive guard sizes. Finish with texturing shears along edges and hairline for definition. Master these fundamentals, and you’ll achieve professional-quality results.
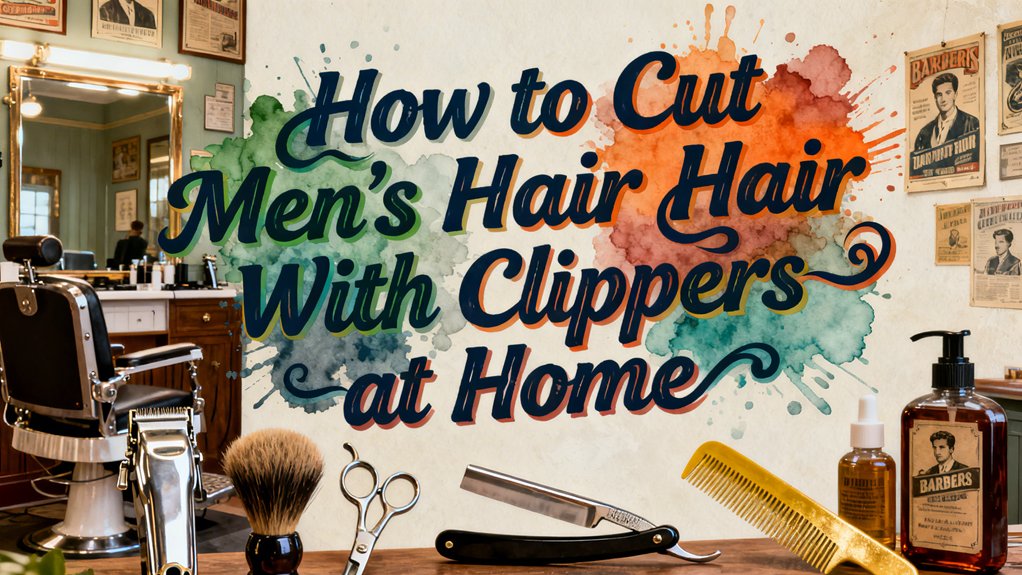
Gather Your Hair Clippers, Guards, and Tools
Before you’ll need to assemble the right equipment. Select a clipper suited to your needs—the Remington ShortCut Pro works well for general home use, while the Wahl Self-Cut Pro excels for self-buzzing. For versatility, consider the Philips Norelco Multigroom 9000, which combines clipping and detailing capabilities.
Gather guard combs in various lengths. Most clipper types attach color-coded guards covering ranges from 1.5mm to 25mm, allowing you to customize cut lengths precisely. The Skull Shaver Beast provides eight combs—four standard lengths plus four tapering options for blending.
Additionally, prepare trimmers for detail work and edging. For professional-grade edging results, consider models like the Andis T Outliner that deliver crisp lines and precision detailing. Verify your clipper’s blade material; ceramic blades stay cooler and retain sharpness longer, while titanium offers superior durability. For optimal results, maintain blade sharpness by stropping between sessions to extend the time between professional maintenance. Guarantee your chosen clipper has adequate motor power for consistent performance throughout your session. All models can be cleaned easily under water after use to maintain hygiene and extend blade longevity.
Prepare Hair and Choose Your Clipper Guard Size
With your clippers and guards selected, you’ll now prepare the hair itself and determine which guard size best suits your desired cut. Begin with thorough hair washing to remove dirt and product buildup, then condition if needed. Towel-dry to a damp state and comb through tangles for even clipper passage. Allow 10-15 minutes of air-drying for ideal texture.
Next, employ sectioning techniques by dividing hair into top, sides, and back sections using clips. Part the top forward, clip the back up to expose the neckline, and isolate the sides from ears to temples. Check symmetry in the mirror before proceeding. Remember that cutting against hair growth ensures all hairs are caught properly for uniform results throughout your sections. Rest assured that clipper use does not cause hair to grow back thicker or faster, as shaving only cuts the hair shaft above the follicle without impacting growth characteristics. For optimal clipper performance, lubricating with oil or spray maintains blade functionality throughout your haircut.
Finally, select your guard size based on your desired style. A #2 works for buzz cuts, while #4 suits crew cuts and #8 provides styling length for textured cuts or side parts.
Cut the Sides and Back With Even Fades
Now that you’ve sectioned your hair and selected your guard sizes, you’re ready to create clean, even fades on the sides and back. Start by dampening hair slightly for prime control. Hold your clippers flat against the scalp and move upward smoothly from the bottom, working consistently around the head. Use your lowest guard first to establish baseline length, maintaining even pressure throughout to prevent uneven patches. Apply fade techniques systematically: establish your first fade line half-inch above skin with no guard, then progress higher with number 1 and 2 guards. Move sideways over each line using short scooping strokes, shaving against hair growth for smoothness. Professional barbers understand that clippers and trimmers serve different purposes, with clippers establishing the foundation for even cuts like fades. Maintain clipper care by keeping blades clean between passes and using fresh sharp blades to avoid clogging and achieve optimal results. Use clipper corners to eliminate dark spots for seamless shifts. Ensure hair is dry for easier cutting to avoid clogging clippers and achieve the best results.
Cut and Style the Top Section
Once you’ve established clean fades on the sides and back, you’ll move to the top section, where precision and control become equally important. Section the top hair using clips, then dampen lightly for better manageability.
Start with the clipper-over-comb technique, lifting hair with your comb while gliding clippers flat across the teeth. Work from front to back in narrow sections, using an upward rocking motion to avoid harsh lines. For top styling techniques, angle clippers slightly outward to create a natural taper. The taper lever fine-tunes the length of your cut for added control and seamless blending between sections.
Incorporate hair texture methods by point-cutting vertically into the ends for movement. Blend the top to your sides using overlapping clipper passes. Just as blade type affects performance in specialized grooming tools, the sharpness and alignment of your clipper blades significantly impact the quality of your cut. For optimal results, maintain regular clipper maintenance to keep blades sharp and properly aligned throughout your cut. Check symmetry frequently in the mirror, making micro-adjustments as needed. Style with product for hold and direction once complete.
Blend Lengths and Detail Edges for Finishing Touches
To achieve a seamless shift between sections, you’ll need to master lever adjustment and guard switching—the two techniques that separate polished fades from obvious lines. Adjust your lever to control blade spacing and create gradual changes between guard lengths. Progress systematically from longer to shorter guards, using your first guard to perfect the blend where sections meet.
For edge detailing, employ texturing shears to thin ridges along the hairline and neckline. Use a straight razor to shave upward on the neck for clean definition. Apply your blend techniques with the clipper rocking motion, keeping your guard flush against the scalp. Remember to rock clippers away from the head to ensure even cuts and maintain consistent blade contact throughout. Professional clippers with staggered blades offer superior fading and blending capabilities for more refined results, while models featuring powerful motors up to 7,200 RPM deliver consistent cutting power through all hair types. Finish with dry paste or texture spray to enhance definition and eliminate any remaining harshness.


