You’ll achieve perfect cuts by positioning your top blade 1/32″ behind the bottom blade—a critical gap most users overlook. Start by loosening blade screws and moving the adjustment lever forward. Align the top blade’s extreme left tooth over the bottom blade’s first tooth, maintaining synchronization across the full width. Tighten screws alternately while keeping blades parallel. Test on a small hair section for even cutting. Regular oiling prevents misalignment and pulling. Understanding the complete alignment process guarantees consistent, professional results.
Gather Tools and Inspect Your Clipper Before Alignment
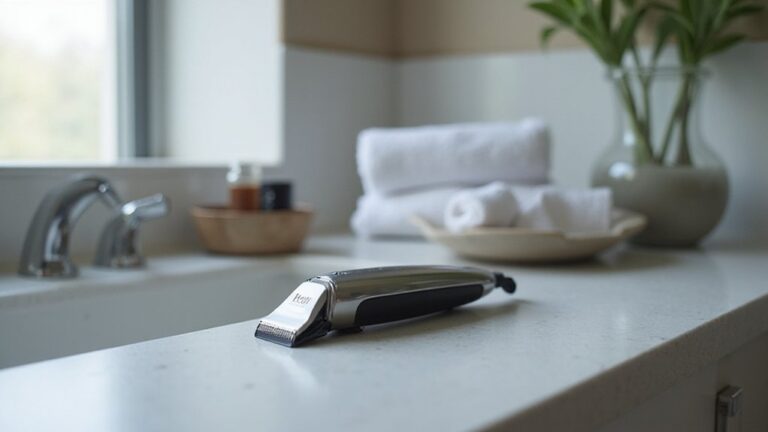
Before you begin aligning clipper blades, you’ll need to gather the essential tools and thoroughly inspect your clipper to identify any pre-existing damage that might affect the alignment process. Your tool selection should include a compatible screwdriver, tension adjuster, soft-bristled blade brush, and lubricating oil. Optional precision tools like calipers and magnifying glasses enhance accuracy.
Establish your inspection checklist by disconnecting power and preparing a clean work surface with adequate lighting. Visually examine blades for chips, cracks, and wear. Remove debris using your blade brush to evaluate alignment properly. Verify spring flatness by laying the assembly on a flat table, detecting any warping. During the sharpening process, maintain even pressure during sharpening to avoid creating wear marks that could compromise blade alignment. Proper maintenance also helps reduce bacteria and infections that could develop from unsanitary equipment. Document damage findings and check fasteners for stripping. Regular inspection and maintenance of your clipper blades will increase longevity and ensure consistent cutting results over time. This preliminary assessment guarantees you’re working with equipment suitable for successful alignment rather than replacement.
Position Top Blade Behind Bottom Blade (1/32″ Gap)
Now that you’ve loosened the blade screws and moved the adjustment lever to its full forward or closed position, you’ll need to position the top blade precisely behind the bottom blade with a 1/32″ gap—roughly the width of a dime. This blade positioning technique guarantees peak cutting performance while preventing skin contact.
Key alignment tips include maintaining the top blade parallel to the bottom blade throughout adjustment. Position the top blade teeth 1/16″ back maximum from the bottom blade teeth, creating a consistent 0.8mm or less gap. Never allow the top blade to extend level with or past the bottom blade edge. Ensure both blades are parallel to each other to avoid overly close cuts that could damage the clipper or irritate skin. Proper blade alignment also prevents fungal and bacterial growth that can develop when clipper components are misaligned and not thoroughly cleaned. Regular oiling with clipper-specific oil will further protect your blades and maintain optimal cutting performance.
Check your work from multiple angles to confirm even positioning across the entire blade length. This careful setup prevents snagging and guarantees uniform cutting results throughout your clipper’s operational lifespan.
Align Blade Teeth Left to Right for Even Cutting
Once you’ve positioned the top blade behind the bottom blade with the proper gap, you’ll need to align the blade teeth left to right to guarantee even cutting across the entire blade width. Start by positioning the extreme left tooth of your top blade directly over the first small tooth of the bottom blade. This establishes proper tooth synchronization from the left side. Next, align the last tooth of your top blade with the inside of the last two stationary teeth on the right side. This balanced positioning prevents higher placement on either side, ensuring a straight blade edge. Proper tooth synchronization across the entire width eliminates crooked cuts and inconsistent results. Remember that top and bottom blades must be parallel, not level, to maintain correct alignment throughout the cutting process. For optimal results, consider that compact electric shavers also rely on precise blade alignment to deliver the close, even cuts that users expect from quality grooming tools. After alignment, apply blade maintenance by oiling your blades with clipper oil for smooth, uninterrupted movement during operation.
Tighten Screws Alternately While Maintaining Parallel Positioning
After you’ve positioned your blades with the proper tooth synchronization, you’ll tighten the screws alternately to maintain even pressure and parallel alignment throughout the adjustment process. Start by turning the first blade screw closest to the adjustment lever clockwise using thumb pressure until you feel resistance.
Next, tighten the second blade screw to balance tension across the spring. Alternate between screws to prevent misalignment and verify even positioning. After securing both screws, adjust the tension nut by turning it back 1½ turns from maximum using your marker guide as reference. Replace the tension set at the end of every season to maintain optimal clipper performance. For best results, consider using professional-grade models like Wahl 5 Star Magic Clip that are specifically designed with precision engineering for blade alignment and durability.
Finally, tighten the bottom locking nut to lock all settings permanently. This alternate tightening method preserves blade positioning and prevents the tension spring from shifting during the adjustment sequence. Models featuring a high-speed magnetic motor deliver the consistent power needed to maintain sharp cutting performance throughout extended grooming sessions.
Test Alignment and Troubleshoot Common Problems
Testing your clipper blade alignment guarantees that your adjustment work produces the desired cutting performance. Start with visual alignment checks by positioning blades side by side on a flat surface, ensuring the top blade sits 1/32″ to 1/16″ back with proper parallel positioning.
Next, conduct operational testing procedures by turning on your clipper and testing on a small hair section. Watch for pulling, tugging, or uneven cuts. Use a rub block testing method with red sharpie to reveal the blade sharpening pattern—straight lines indicate proper alignment, while curved or skewed patterns signal misalignment. Regular testing with the rub block ensures optimal blade sharpening standards and maintains clipper blade performance over time. Similar to how premium electric shavers handle various facial hair types, your clipper blades must accommodate different hair textures during testing. To prevent overheating during extended testing sessions, remember to apply clipper lubrication every 10 minutes to maintain optimal cutting performance.
If you observe dragging, noise, or hair pulling, realign your blades. Repeat testing procedures until cuts remain even and consistent throughout operation.
Prevent Misalignment: Oil and Maintain Your Blades
While proper blade alignment is essential for quality cuts, maintaining that alignment requires consistent cleaning and lubrication. You’ll prevent misalignment by applying blade lubrication techniques correctly. Add a few drops of clipper oil before and after each use, then re-oil every 10-15 minutes during operation. Apply three drops to the top edge and one to each end, running the machine for 10 seconds.
Regular maintenance tips include cleaning blades after every use with a stiff brush and blade wash solution to remove hair and product buildup. Specialized clipper oils formulated by manufacturers contain mineral oil and corrosion-preventing ingredients that reduce friction and keep blades sharper longer. For thorough disinfection, spray isopropyl alcohol on the blade teeth and underside until wet, letting it sit for about 1 minute before air-drying. Store your blades oiled, cleaned, and dried in a protective case to prevent rust and misalignment. For optimal results when blades become dull or misaligned despite regular care, professional sharpening can restore cutting performance and extend your tools’ lifespan. These habits keep your blades properly aligned and functioning efficiently for precision cuts.
When Blades Still Pull or Pinch: Reset and Realign
Despite your diligent maintenance routine, you might still experience pulling or pinching during operation—signs that your blades need realignment. These symptoms indicate blade wear or improper cutting tension rather than equipment failure.
Start by loosening both blade screws slightly with a Phillips screwdriver, allowing movement without complete removal. Position your taper lever upward for ideal access. Next, adjust the top blade positioning so it sits 1/32″ to 1/16″ behind the bottom blade points—approximately dime thickness—not level with them. A gap of 0.8mm or less ensures optimal performance and prevents skin irritation. Professional-grade trimmers with multiple attachments provide the precision needed for accurate blade alignment and adjustment.
Verify that the extreme left-hand tooth of your top blade positions over the gap between left-hand teeth of the lower blade. The far-right tooth must touch inside the last big tooth of the bottom blade. For extended use without battery concerns, corded models like those highlighted in professional grooming equipment offer superior reliability during realignment procedures.
Tighten screws gradually, alternating between fasteners while holding blade position steady. Test on a small hair section without guard before resuming full operation.